432Hz Converter

Upload your audio file and create a separate 432Hz version from a 440Hz source. This converter is made for music, loops, instrumentals, backing tracks, and other finished audio files that need a lower pitch reference without changing the playback duration.

Batch job 432Hz converter

Select the track, loop, sample, or recording you want to process.
Preset values are ready to use. Custom values override the selected preset.
Waiting for an audio file.

Convert to 432Hz in Four Steps

  • Step 1: Choose your source audio file.
  • Step 2: Pick the frequency you want as the output target.
  • Step 3: Run the 432Hz conversion.
  • Step 4: Download the new retuned file when it is ready.
432Hz converter for online audio retuning

This 432Hz converter is made for users who need a 432Hz copy of songs, samples, instrumental tracks, vocal recordings, loops, rehearsal audio, or music beds for editing projects. The conversion works on the whole uploaded file, so the mix is handled as one piece of audio.

The purpose is precise tuning adjustment. The converter does not cut the track, isolate vocals, change loudness, repair damaged recordings, or turn one arrangement into another. It creates a separate retuned output from the file you provide.

Use This 432Hz Converter for 440Hz Audio

The 432Hz converter on this page lets you upload audio and create a new version tuned to 432Hz. Select the file, choose the 432Hz target, process the audio, and download the finished result.

Keep the 440Hz version stored separately. The 432Hz download should be treated as a new copy, especially when you want to compare tuning references, test the file in editing software, or keep multiple project versions.

Where This 432Hz Converter Fits

This tool is useful when the main job is changing the tuning reference of an existing audio file. It is suitable for many everyday audio tasks where the timing and arrangement should stay in place.

  • creating a 432Hz copy of a music track
  • retuning backing tracks for practice folders
  • processing WAV files before editing
  • preparing MP3 versions for playback
  • adjusting short loops for a 432Hz project
  • retuning vocal files together with instrumental material
  • making alternate versions of audio for video timelines
  • checking 440Hz and 432Hz versions side by side

The Tuning Change from 440Hz to 432Hz

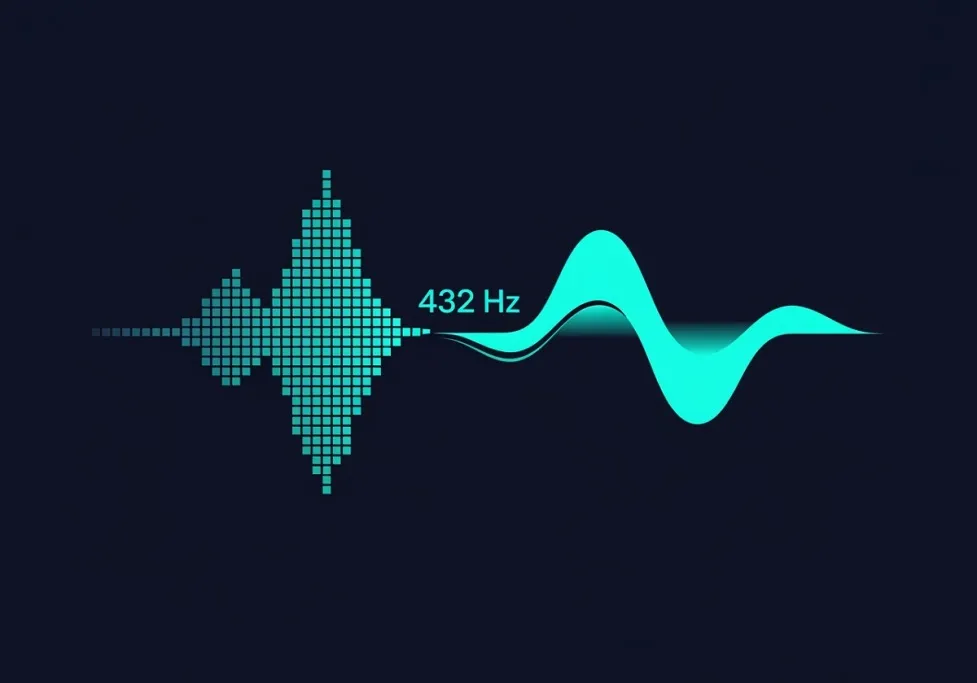
A4 = 440Hz means the reference note A4 is placed at 440 cycles per second. A4 = 432Hz places that same reference note lower, at 432 cycles per second. This 432Hz converter shifts the uploaded audio to that lower reference.

The required pitch movement is approximately -31.77 cents. This is a fine adjustment because one semitone contains 100 cents. The result is much smaller than moving a song down by one full semitone.

For that reason, the converted audio should still feel like the same track. The musical form, note order, phrasing, rhythmic placement, and section layout should remain familiar.

Recommended Values for 432Hz Retuning

Audio Parameter Recommended Value Function in the Conversion
Original reference 440Hz Starting point for standard-tuned material
New reference 432Hz Target for the converted output
Pitch movement -31.77 cents approx. Fine downward retuning amount
Speed control Leave untouched Prevents unwanted length changes

How to Convert Audio with This 432Hz Converter

  1. Choose the best available audio version.
  2. Upload the file into this 432Hz converter.
  3. Select 432Hz as the new tuning reference.
  4. Do not alter tempo, BPM, or playback rate.
  5. Start the retuning process.
  6. Download the 432Hz output.
  7. Check the result before using it in your project.

For larger audio folders, use names that show both the tuning and the file purpose. This helps prevent confusion between the original track, the working copy, and the final export.

Why Timing Should Remain Fixed

Pitch retuning and speed changes are not the same operation. Slower playback can make audio sound lower, but it also extends the file. That can cause problems in music projects, loop libraries, video edits, and rehearsal tracks.

The 432Hz converter is intended to shift the tuning reference while leaving the playback length intact. The file should remain usable in the same timing position as the uploaded version.

If the converted audio no longer lines up with the original, check whether a speed or stretch setting was used by mistake.

Audio Formats for 432Hz Conversion

File quality matters before conversion begins. The converter works with the audio information inside the upload, so a better source usually gives a cleaner result.

Using MP3 Files

MP3 is convenient for smaller playback files. A higher-bitrate MP3 is preferred when available because very compressed audio can sound less stable after pitch processing.

Using WAV Files

WAV is a strong option for editing, mixing, archiving, sampling, and production software. When sound quality is more important than file size, WAV is often the better choice.

Using FLAC, M4A or OGG Files

FLAC can be useful for detailed source audio. M4A and OGG may also work when supported by the upload system. If a file type is not accepted, convert the format first, then use the 432Hz converter for tuning.

Retuning Is Different from Other Audio Jobs

The 432Hz converter is focused on the pitch reference. Other audio changes need other tools.

Audio Job Tool to Use Result
Change 440Hz audio to 432Hz The 432Hz converter Lower tuning reference
Remove unwanted parts Audio cutter Shorter file
Make music louder Volume editor Changed level
Change musical key Pitch or key tool Different key position
Adjust beat speed Tempo tool Different BPM
Change MP3, WAV or FLAC type Format converter Different audio format

Check the Source Before Retuning

Not every recording is exactly tuned to 440Hz. Live sessions, old media transfers, sampled phrases, vinyl recordings, cassette material, and previously edited clips may sit slightly above or below the expected reference.

If exact tuning is important, check the original track with a tuner, reference note, instrument pitch, or spectrum display before using the converter. This gives a more reliable starting point for the 432Hz output.

Review the 432Hz Output

After conversion, listen through several parts of the result. Short checks can miss issues that only appear in sustained notes, dense sections, or high-frequency details.

File Alignment

Start the original and converted files at the same point in an editor. Important entrances, breaks, and endings should line up.

Held Notes

Vocals, strings, piano, pads, and guitar sustains should remain steady. Unwanted flutter or uneven pitch movement may indicate processing artifacts.

Rhythm Detail

Drums, claps, plucked sounds, and percussion should retain clear attack. A blurred attack can make loops and grooves feel less accurate.

Frequency Balance

Bass should remain controlled, while cymbals, reverb tails, and bright synth layers should not become harsh or grainy.

Example: Creating a 432Hz Copy of a Sample Pack Loop

A producer has several 440Hz WAV loops in a sample pack and wants matching 432Hz copies for a separate project folder. Each loop is uploaded to this 432Hz converter, the 432Hz target is selected, and playback rate settings are left untouched.

The exported loops keep their bar length and placement, so they can still fit the project grid. The new files are stored with clear 432Hz labels, while the original loops remain in the source folder.

Folder and Filename Suggestions

Clear file naming is important when multiple tuning versions exist. Add the tuning reference, project use, and format where helpful.

  • sample-loop-440hz-source.wav
  • sample-loop-432hz-grid.wav
  • backing-track-432hz-rehearsal.mp3
  • vocal-hook-432hz-session.wav
  • ambient-bed-432hz-video.wav

For organized projects, keep source files, converted files, and final delivery files in separate folders.

Common Mistakes to Avoid

  • Using playback slowdown instead of pitch retuning.
  • Uploading a poor-quality copy when a better version is available.
  • Saving the 432Hz export over the 440Hz source.
  • Processing a low-bitrate MP3 multiple times.
  • Confusing sample rate values with musical tuning values.
  • Using this converter when the actual task is cutting, mastering, or BPM editing.

Best Practice for Consistent Results

  • Start with WAV, FLAC, or a high-quality MP3.
  • Store the 440Hz file before retuning.
  • Use this 432Hz converter only for tuning-reference changes.
  • Keep all timing controls at their original setting.
  • Check the converted output in headphones and speakers.
  • Use WAV for editing and MP3 for compact playback.
  • Name every version with its tuning reference.

FAQ to the 432Hz Converter

Can this 432Hz converter create a separate download instead of replacing my upload?
Yes. The 432Hz converter is intended to create a new retuned output, so the uploaded 440Hz file can remain unchanged in your own folder.
Why is 432Hz entered as the destination instead of the starting value?
432Hz is the target reference for the final file. The upload is treated as 440Hz material, then shifted downward to reach the 432Hz destination.
How can I check whether the new file still fits my timeline?
Place the original and converted files at the same start point in an editor. If the main sections and ending match, the timing has been preserved.
Does this converter change all sounds inside a mixed track?
Yes. A finished mix is processed as one audio file. Vocals, instruments, effects, drums, and bass move together during the retuning process.
Why should I use the best version of the track before conversion?
Pitch processing depends on the quality of the upload. A cleaner source gives the converter better material than a distorted or heavily compressed copy.
Can the 432Hz output be used in editing software?
Yes. The exported file can be used in a DAW, video editor, sampler, or audio editor as long as the timing and sound quality suit the project.
What should I do if the file type is not accepted?
Convert the audio to a supported format such as WAV or MP3 first. After that, upload the supported file to this 432Hz converter for tuning.
Can I use the same 432Hz export for another conversion later?
For best quality, return to the original 440Hz file when you need another version. Reusing already processed audio can reduce clarity over time.


Facebook Pinsteres X Twitter Youtube